zondag 28 oktober 2018

accordeonvouwtasje / accordeon pleat bag


Hey, hey!
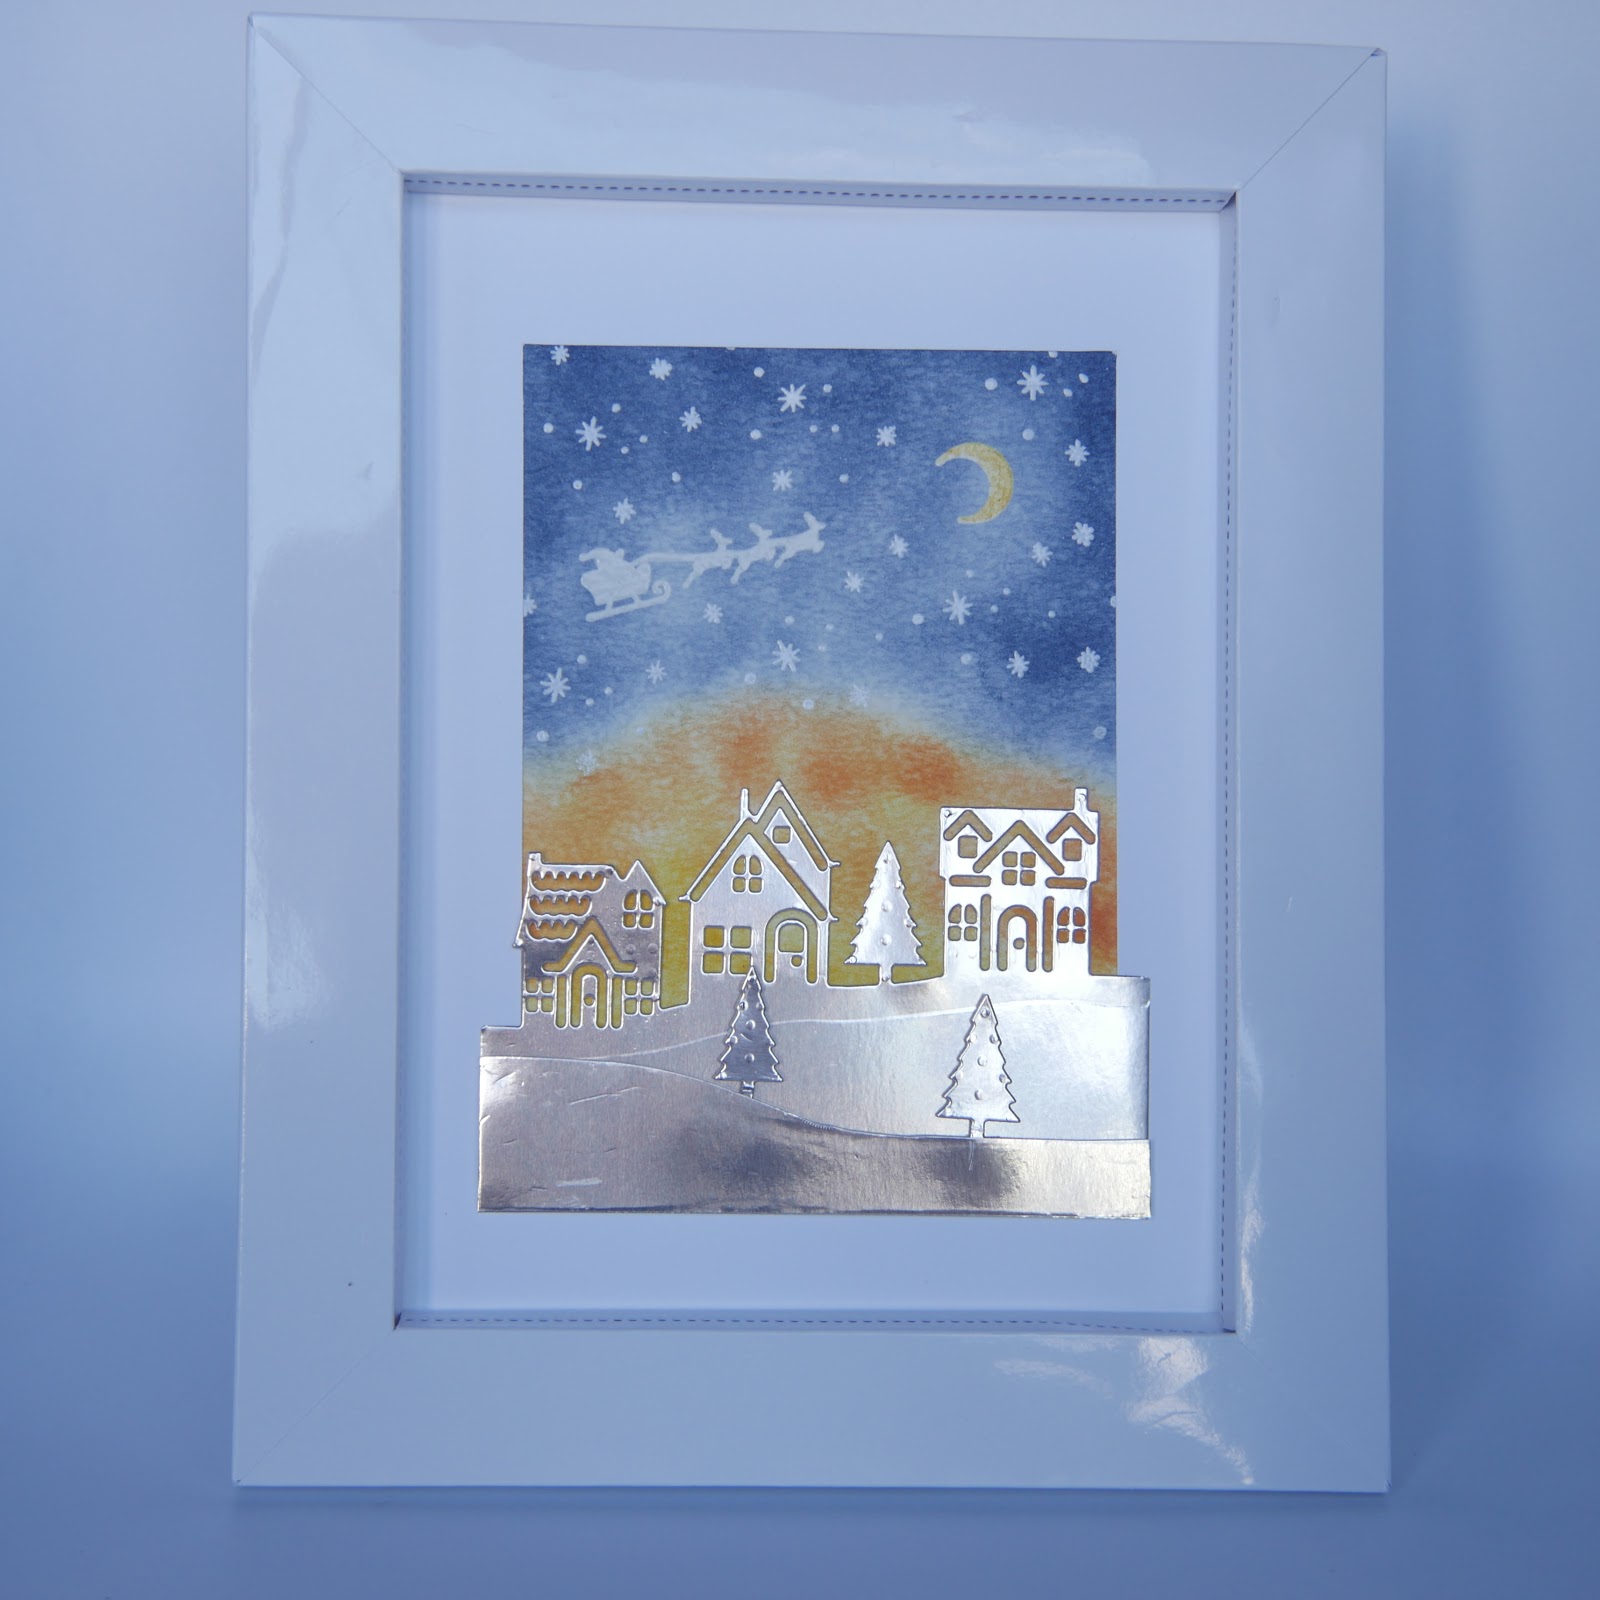
Dit schattige tasje ga ik gebruiken als bedankje.
I'm going to use this cute bag as a thank-you gift.
Je kunt er twee maken uit één vel Designer Series Paper  van 12" x 12" (30,50 x 30,50 cm).
Je snijdt van boven naar beneden twee stroken van 7,60 cm. Van het overblijvende deel snijd je 2,55 cm af. De rest snijd je in vier stukken van 12,70 x 7,60 cm.
Zie de foto hieronder.
You can get two from one sheet of 12" x 12" Designer Series Paper.
Cut two 12" x 3" strips from top to bottom. Cut off 1" from the remaining paper. Then cut up into four 5" x 3" pieces.
Please see the photograph below.


Ril de strook Designer Series Paper van 30,50 x 7,60 cm ( de kant die je aan de buitenkant wilt hebben naar boven) op 11,45 en 19,05 cm.
Keer om en ril op 1,25 en 29,20 cm.
Ril de twee stukken van 12,70 x 7,60 cm iedere 1,25 cm, te beginnen bij 1,25 cm.
Vouw en plak vast zoals in het filmpje.
Score strip of Designer Series Paper of 12" x 3" (the side you want outside facing up) at 4½" and 7½".
Flip and score at ½" and 11½".
Score the two 5" x 3" pieces at every half inch mark, starting at ½".
Fold and attach as shown in the video.
Je kunt dit tasje op veel manieren maken, ik heb gebruikt:
There are many ways of making this bag, I have used:

·        Santa's Workshop Designer Series Paper

·        Playful Backgrounds / Voor Elke Gelegenheid ( Tabs for Everything) / Signs of Santa

·        Memento Tuxedo Black, Coastal Cabana, Poppy Parade

·        Mini Gluedots, Stampin' Dimensionals, Tear & Tape Adhesive, TomBow

·        Santa's Signpost Framelits / Stitched Shapes Framelits

·        circa 18 cm (approx. 7" ) ⅛" Solid Red Ribbon / Red Rhinestone Jewels

·        Gold Library clips


zaterdag 27 oktober 2018

Filmpje in het Nederlands / Video in Dutch


Hey, hey!
Van mijn blog ben je gewend dat ik in het Nederlands en in het Engels schrijf. Dat blijf ik ook doen.
If you have visited my blog before, you'll know that I write both in Dutch and English. I will continue to do so.
Tot dusver heb ik in het Engels gefilmd en dat gaat veranderen.
Ik wilde veel mensen bereiken en dan is wereldwijd Engels de eerste keuze.
Maar, ik wil ook mensen in Nederland bereiken.  Daarom film ik voortaan in het Nederlands met Engelse ondertitels waar nodig.
Up till now I have filmed in English and that is going to change.
I wanted to reach many people and then worldwide English is the obvious choice.
But, I also want to reach people in the Netherlands. That's why I'm filming in Dutch with English subtitles where necessary from now on.
De maten blijf ik in inches en centimeters geven, dan kan iedereen een van mijn projecten maken; je ziet ook wat er gebeurt in het filmpje.
Ik werk bij voorkeur in inches: veel van het Stampin' Up! materiaal heeft inch-maten en daarbij ben ik cijferblind. Hoe raar het ook mag klinken, ik kan beter met inches overweg dan centimeters. (Dat zou mijn oude wiskundedocent eens moeten horen.)
I'll continue to give measurements in inches and centimetres, so that everyone can make one of my projects; you can see how to in the video.
Working in inches is what I prefer: a lot of the Stampin' Up! material is in inches and what is more, I suffer from dyscalculia. I know it sounds strange, but I work better in inches than in metric. (My old maths teacher ought to hear this.)
Goed, dat is mijn blogpost voor deze week. Het filmpje is dus het eerste in het Nederlands, maar het tweede in de reeks met tips en handigheidjes.
Well, that's this week's blogpost. The video then is the first one in Dutch, but it's the second one in my series on tips and tricks.
Als je het leuk vindt, wil je dan het filmpje liken? En laat vooral iets van je horen, ik stel vragen en/of opmerkingen op prijs.
Veel plezier met het kijken!
If you like it, would you please give me a thumbs-up? And do leave a comment, I really appreciate your reaction.
Have fun watching!
Karin.

vrijdag 19 oktober 2018

Double Fold / Dubbelvouw

Hey, hey!
Het idee voor deze aparte vouw heb ik van Jennifer McGuire, ik heb de maten aangepast aan A4 formaat.
I was inspired by Jennifer McGuire for this special fold, I have adapted the sizes to International A4.


Voor dit model heb je nodig:
For this model you need:
Coastal Cabana card stock van 10,50 x 27,96 cm, met de lange zijde boven gerild op 14,00 en 7,00 cm
Coastal Cabana card stock measuring 4⅛" x 11", with the long side top scored at 5½" and 2¾"
een strook papier van 8,25 x 25,40 cm, met de lange zijde boven gerild op 7,00 en 14,00 cm
Ik heb de sneeuwpoppen van Santa's Workshop Specialty Designer Series Paper gebruikt.
Voor het elfje heb ik de Stampin' Blends gebruikt. Het gezichtje is in Pink Pirouette light en dark, het jasje en mutsje in Pool Party light. Ik heb met de Fine-tip Glue Pen Dazzling Diamonds glitter aangebracht op het mutsje.
a strip of paper measuring 3¼" x 10", with the long side top scored at 2¾" and 5½"
I have used the snowmen from the Santa's Workshop Specialty Designer Series Paper.
The has been coloured using the Stampin' Blends. The face is in Pink Pirouette light and dark, the coat and hat in Pool Party light. I have used the Fine-tip Glue Pen to adhere Dazzling Diamonds glitter to the hat.


Je kunt ook je kaart maken zoals de groene kaart hierboven, hij is dan hoger en smaller. Hiervoor heb je nodig:
You can also make your card like the one in green above, it will be taller and narrower. For this you will need:
card stock van 14,90 x 20,95 cm, met de lange zijde boven gerild op 10,80 en 5,25 cm
card stock measuring 5⅞" x 8¼", with the long side top scored at 4¼" and 2-1/16"
een strook papier van 13,00 x 18,40 cm, met de lange zijde boven gerild op 8,25 en 13,35 cm
De kaart hierboven is uit Garden Green card stock met papier uit het Santa's Workshop Specialty Designer Series Paper. Het jasje en mutsje zijn gekleurd met Old Olive light met daaroverheen Bermuda Bay light, deze mengeling lijkt op Garden Green.
a strip of paper measuring 5⅛" x 7¼", with the long side top scored at 3¼" and 5¼"
The card above is in Garden Green card stock with paper from the Santa's Workshop Specialty Designer Series Paper. I have coloured the coat and hat in Old Olive light, with Bermuda Bay light on top, this blend looks like Garden Green.

De tekst is uit Nacht in Bethlehem, ik heb de Layering Ovals Framelits gebruikt om de versiering te maken. Van beide de op één na kleinste. Om het elfje vast te maken heb je ongeveer 21 cm van het ⅛" Solid Ribbon nodig.
The sentiment is from the Dutch version of Night in Bethlehem. I have used two Layering Ovals Framelits to make the embellishment. To attach the little elf, I have used about 8" of the ⅛" Solid Ribbon.


Voor deze kaart is Poppy Parade gebruikt.
For this card Poppy Parade has been used.


woensdag 10 oktober 2018

All Lit Up

Hey, hey!
Dit project heeft eventjes tijd gekost. Ik wist wat ik wilde, maar hoe ik het moest uitvoeren heeft even wat hoofdbrekens gekost.
Ik kreeg mijn idee van een foto op blz. 101 in de jaarcatalogus, maar ik wilde een verlicht lijstje. Hoe kon ik er lichtjes in krijgen en tegelijkertijd het snoertje naar de batterijen er netjes in verwerken?
This project has taken me a while. I knew what I wanted, but the execution took some time thinking about it.
I was inspired by a photograph on page 101 in the Annual Catalogue, but I wanted a light-up frame. How to get fairy lights inside and at the same time get a neat solution for the battery lead?

Bij daglicht / In the daytime 

Nou, ik ben eruit zoals je kunt zien.
Well, I've figured it out, as you can see.


De buitenmaten zijn 19,05 x 24,15 cm. Bij daglicht is al hartstikke leuk, maar 's avonds, als je de lichtjes aan doet, is het helemaal prachtig. De lichtjes heb ik via Amazon besteld, alle andere dingen zijn van Stampin' Up!, natuurlijk!
The outside measurements are 7½" x 9½". In the daytime the decoration is really lovely, but in the dark, when you switch on the fairy lights, there's a real wow factor. I ordered the lights on Amazon, everything else is Stampin' Up!'s, of course!

En verlicht / All lit up      

Dit zijn de maten en materialen:
Here are the measurements and materials:
Voor het passe partout (ja, ik weet het, maar het is meer dan een simpele mat) een stuk Thick Whisper White van 15,25 x 20,30 cm. In het filmpje kun je zien hoe je het gat uitmeet en uitsnijdt. Langs de lange zijden meet je 2,55 cm en langs de korte zijden is het 3,20 cm. Hierdoor ontstaat een gat van 10,15 x 14,00 cm.
For the passe-partout (I know, I know, a fancy name, but then it is not your everyday mat) a piece of Thick Whisper White measuring 6" x 8". In the video you can see how to measure and cut the hole. Along the long sides you measure 1" and along the short sides it's 1¼". This makes a 4" x 5½" hole.


De gestempelde achtergrond is een stuk Watercolor Paper van 11,45 x 15,25 cm.
Ik heb Sponge Daubers gebruikt met Night of Navy, Pumpkin Pie en Crushed Curry inkt. De maan is in Daffodil Delight. Verder Versamark inkt, clear Embossing Powder en White Embossing Powder.
De huisjes heb ik gestanst uit Champagne Foil Sheets. De huisjes zijn gestanst uit een stukje foil van 7,60 x 11,45 cm. Het andere deel is ook 11,45 cm breed. De hoogte hangt af van hoe je wilt dat het geheel eruit ziet.
Stempelset Hearts Come Home en de bijpassende stansen Hometown Greetings Edgelits, de sterren zijn van Nacht in Bethlehem.
Voor de gaatjesranden is gebruikt de Swirly Snowflakes Thinlits.
The stamped background is a 4½" x 6" piece of Watercolor Paper.
I've used Sponge Daubers with Night of Navy, Pumpkin Pie and Crushed Curry inks. The moon is in Daffodil Delight. Also, Versamark ink, clear Embossing Powder and White Embossing Powder.
I've die cut the houses from Champagne Foil Sheets. For the die cut with the houses I've used a 3" x 4½" piece of foil. The other cut is also 4½" wide. The height will depend on how you want it to look.
Hearts Come Home stamp with the matching Hometown Greetings Edgelits, the stars are from Night in Bethlehem.
For the pierced sides I've used the Swirly Snowflakes Thinlits.


Het lijstje is gemaakt van het prachtige Glossy White. Ook Thick Whisper White is geschikt.
-       2 stroken 10,15 x 25,40 cm. Met korte kant boven, ril op 2,55 / 3,80 / 6,35 / 7,60 cm. Keer en met lange kant boven, ril aan linkerkant op 2,55 cm tot aan de tweede rillijn. Ril rechts van boven naar beneden op 24,15 cm.
-       2 stroken 10,15 x 20,30 cm, met korte kant boven, ril op 2,55 / 3,80 / 6,35 / 7,60 cm. Keer en met de lange kant boven, ril aan de linkerkant op 2,55 cm tot aan de tweede rillijn. Ril rechts van boven naar beneden op 19,05 cm.
The frame is made from the beautiful Glossy White. You can also use Thick Whisper White.
-       2 strips 4" x 10". With the short side top, score at 1" / 1½" / 2½" / 3". Turn and with long side top, score left at 1" as far as the second score line. On the right, score at 9½" all the way down.
-       2 strips 4" x 8". With the short side top, score at 1" / 1½" / 2½" / 3". Turn and with the long side top, score left at 1" as far as the second score line. On the right, score all the way down at 7½".
De staander is een strook Thick Whisper White van 5,10 x 25,40 cm, verstevigd met een strook stevig papier/karton van4,75 x 18,10 cm.
Met lange zijde boven, ril op  1,6 / 5,40 / 23,80 cm. Keer om en ril op 3,50 cm.
Wanneer het lijstje klaar is, kun je de batterijen in de staander schuiven.
The stand is a 2" x 10" strip of Thick Whisper White, reinforced with a 1" x 7" strip of sturdy paper/cardboard.
With the long side top, score at ⅝" / 2⅛" / 9⅜". Flip and score at 1".
When finished the battery pack can be slotted into the stand.


De achterkant van het lijstje is een stuk Whisper White van 19,05 x 24,15 cm.
The back of the frame is a 7½" x 9½" piece of Whisper White.

Ik heb het hele proces in twee instructiefilmpjes gemaakt om het behapbaar te houden. Veel plezier met 
het kijken!
I've filmed the whole process in two tutorials to keep it from being over long. Enjoy watching them!


vrijdag 5 oktober 2018

Card Presentation Box

Hey, hey!

Een tijdje geleden had ik een blogpost over de Large Floral Card en ik heb je toen laten zien hoe je daar een bijpassende envelop voor kunt maken. Maar soms wil je helemaal je kaart niet versturen, maar hem persoonlijk overhandigen. Hiervoor heb ik een mooi doosje gemaakt om je kaart in aan te bieden.
In de blogpost van vandaag en in het filmpje heb ik het over de Grote Bloemenkaart (Large Floral Card), die is 14,6 x 14,6 cm, maar je kunt een doosje zoals dit in elke gewenste maat maken.

Some time ago I blogged about the gorgeous Large Floral Card and I showed you how to make a matching envelope. Sometimes, however, you don't want to send your card through the post, but you want to give it in person. For this I've designed a beautiful Presentation Box.
In today's blogpost and in the video I talk about a box for the Large Floral Card, which is 5¾" x 5¾", but you could make a box like this in any size.


Bodem
Base
Merry Merlot 17,80 x 17,80 cm
rondom rillen op 0,65 en 1,25 cm
knip en plak zoals in het filmpje te zien is
Merry Merlot 7" x 7"
score on all sides at ¼" and ½"
cut and adhere as shown in the video
Deksel
Lid
Powder Pink 17,95 x 17,95 cm
rondom rillen op 0,65 en 1,25 cm
knip en plak zoals in het filmpje te zien is
Powder Pink 7-1/16" x 7-1/16"
score on all sides at ¼" and ½"
cut and adhere as shown in the video

Voor informatie over de maat van de versiering op het deksel en de kaart, verwijs ik je graag naar mijn blogpost over de Large Floral Card.

Please see my blogpost on the Large Floral Card for more information on the measurements for the decoration on the lid and the card.