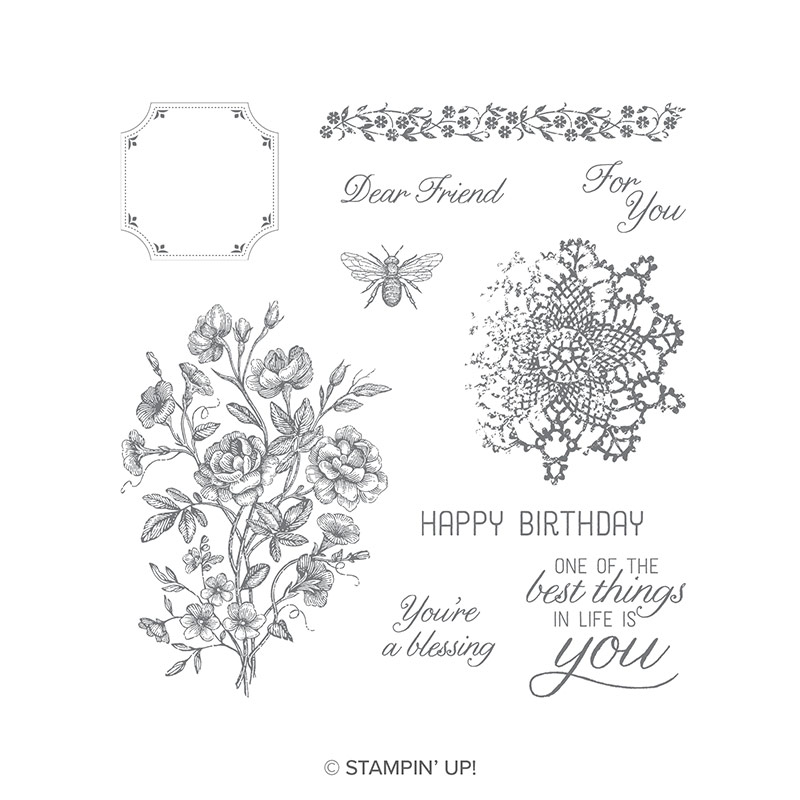
vrijdag 27 juli 2018

Petal Promenade with a Twist


Hey, hey!

Ik ben dol op het Petal Promenade Designer Series Paper , het doet me zo aan de zomer denken. Ik heb nogal wat verjaardagen in de zomer, dus wat is er beter dan een mooi geschenkdoosje voor alle jarigen?

De maten zijn 8,9 cm x 8,9 cm. Je hebt er twee vellen A4 Cardstock voor nodig, één vel A4 Cardstock voor de matten en iets meer dan een half vel 30,5 x 30,5 cm Designer Series Paper.

Doosje
Fresh Fig

2 stukjes
19,05 cm x 22,2 cm
Cirkels
8 cirkels in Fresh Fig
1¾" Circle Punch

8 cirkels in Designer Series Paper 
1½" Circle Punch


Mat 1
4 stukjes in Smoky Slate
8,55 cm x 8,55 cm

4 stukjes in Smoky Slate
8,55 cm x 4,15 cm


Mat 2
4 stukjes in Designer Series Paper 
8,25 cm x 8,25 cm

4 stukjes in Designer Series Paper 
8,25 cm x 3,8 cm


I love the Petal Promenade Designer Series Paper, it is so beautifully reminiscent of summer. Quite some people I know have their birthdays in summer, so what could more appropriate than have a beautiful gift box to give them?

The box measures 3½" x 3½". You can make it from two sheets of A4 Cardstock, one sheet of A4 Cardstock for the mats and just over half a sheet of 12" x 12" Designer Series Paper.

Box
Fresh Fig

2 pieces
7½" x 8¾"
Circles
8 circles in Fresh Fig
1¾" Circle Punch

8 circles in Designer Series Paper 
1½" Circle Punch


Mat 1
4 pieces in Smoky Slate
3⅜" x 3⅜"

4 pieces in Smoky Slate
3⅜" x 1⅝"


Mat 2
4 pieces in Designer Series Paper 
3¼" x 3¼"

4 pieces in Designer Series Paper 
3¼" x 1½"

In het filmpje heb een ander vel gebruikt van het Petal Promenade Designer Series Paper en dat gecombineerd met Highland Heather en Gorgeous Grape Cardstock.

In the video I have used a different sheet from the Petal Promenade Designer Series Paper and combined it with Highland Heather en Gorgeous Grape Cardstock.


Waar je de rillijnen aanbrengt
Met de 19,05 cm zijde bovenaan, ril op 8,9 cm en op 17,8 cm. Draai het papier en met de 22,2 cm zijde boven, ril op 8,9 cm en op 17,8 cm. Herhaal voor het andere stuk papier.

How to score the box
With the 7½" side at the top, score at 3½" and at 7". Turn the paper and with the 8¾" side top, score at 3½" and 7". Repeat with the other piece.


donderdag 19 juli 2018

Sweet Little Label

Hey, hey!

Nog een (korte) post over het etiketje bij mijn Very Vintage Bag. Ik vond die video al ruim lang, dus besloot ik een apart filmpje te maken. In het filmpje kun je zien hoe ik de ronde hoekjes heb gemaakt. Veel plezier bij het kijken.


Another (short) post on the little label that goes with my Very Vintage Bag. I thought that video was quite long enough already, so I did a separate one. In the video you can see how I've made the round corners. Have fun watching.


Very Vintage Bag

Hey, hey!


Very Vintage Stamp Set

In de jaarcatalogus staan altijd een paar stempelsets die "Just for Hosts" zijn. Dat betekent dat je ze niet kunt kopen, maar dat je ze kunt verdienen als je een party geeft waar voor € 200 verkocht wordt (exclusief verzendkosten). Je koopt ze met je verdiende Stampin' Rewards.

Toen ik de host stempelset Very Vintage voor het eerst zag, was ik helemaal weg van het bijtje. Ik maak weinig vintage dingen, het past gewoon niet zo bij mijn stijl, maar deze stempels zijn zo mooi dat ik wist dat het wel goed zou komen.
When I first saw the Very Vintage host stamp set, I fell in love with the bee. I don't normally do vintage, it's just not my style, but these stamps are so beautiful that I knew I couldn't go wrong.


Ik besloot een geschenktasje te maken met een losse bovenkant, waarvoor ik de grootste cirkel van de Stitched Shapes Framelits heb gebruikt. Die hebben zo'n sjiek stikrandje extra. De grootste cirkel is wel een aparte maat nl. 2⅞" en dat bepaalde weer de maten van het tasje.
I decided to make a gift bag with a loose top, for which I have used the largest circle of the Stitched Shapes Framelits. They have such an elegant stitched border. The largest circle, however, is an unusual size as it measures 2⅞", which dictated the size of the bag.
Natuurlijk heeft Stampin' UP! het prachtigste papier, maar voor mijn tasje besloot ik zelf te stempelen. Voor de vintage look heb ik Very Vanilla card stock genomen en gestempeld in Crumb Cake. De sluiting van het tasje is van Crumb Cake card stock. Een Gold Library Clip erop en het is helemaal af.
Of course Stampin' UP! have the most beautiful paper, but for my bag I decided to stamp my own paper. For a vintage look I've used Very Vanilla Cardstock and I stamped in Crumb Cake. The bag topper is in Crumb Cake Cardstock. Add a Gold Library Clip for the finishing touch.


Gold Library Clips


Je kunt het tasje maken van een vel A4 - je snijdt het op maat op 11¼" x 8".
If you work in American A4, you will be able to make this bag to these sizes it just means that you have a narrower glue flap than I am normally comfortable with. I prefer a half inch glue strip.
The paper size is 11" x 8".
Met de lange zijde boven bevinden de rillijnen zich op
2⅞" / 5⅜" / 8¼" / 10¾"
op 4⅛" en op 9½" maak je een rillijn van ongeveer 1¼"
dan keer je het papier en je maakt een rillijn op 2½"
With the long side top you score at
2⅞" / 5⅜" / 8¼" / 10¾"
at 4⅛" and at 9½" you score down to about 1¼"
turn the paper and score at 2½"
Het filmpje hieronder toont je de rest, veel plezier met het kijken.
The video below shows you the rest, have fun watching.


donderdag 12 juli 2018

Case That Card 1


Hey, hey!

In een catalogus van Stampin' Up! zijn zoveel leuke ideeën te vinden. Ik maak wel eens een kaart na, maar hij krijgt toch altijd een draai van mijzelf. Ik begin gewoon met wat kleuren uit te kiezen en dan zie ik wel waar ik uit kom.
Het resultaat is in dit geval beslist kleurrijk te noemen. 


There are so many fun ideas to be found in the catalogue. I do case, but whatever I case always ends up differently. I usually start  by choosing some colours and then I'll just see where it ends.
In this case the result is colourful, to say the least. 


In de video kun je zien hoe ik een kaart als deze maak en krijg je tips voor met de hand uitknippen. Natuurlijk kun je ook de kleuren nemen die in de catalogus staan, in de video heb ik dat gedaan. Veel kijkplezier!

In the video you can see how I make a card such as this one and you will get some tips on fussy-cutting. Of course you can also choose the colours that are in the catalogue, I have done so in the video. Have fun watching!


donderdag 5 juli 2018

Mannenkaarten / Cards for Men


Hey, hey!
Ik vind het best moeilijk om voor een man een geschikte kaart te maken. Het is al snel te bloemerig, maar ik houd ook niet zo van kaarten met gereedschap of zo omdat niet iedere man daar iets mee heeft. Ik ken er genoeg die heel handig zijn, maar ook genoeg die twee linkerhanden hebben.
Daarom heb ik besloten mezelf ertoe te zetten een serie kaarten te ontwerpen die je naar een man zou kunnen sturen. Met alle mogelijkheden die Stampin' UP! biedt, zal het afhangen van mijn fantasie hoe ver ik kom. Vandaag zie je de eerste kaart in mijn nieuwe serie.
Hey, hey!
I find it slightly daunting to make a card that is suitable for a man. You don't want anything too flowery, but I don't really like cards with tools and the like because not every man is into tools. I know plenty of men who are handy to have around, but then again also plenty who are all thumbs.
That is why I have decided to make myself create a series of cards that could be sent to a man. With all the possibilities Stampin' UP! offers, it will come down to my own fantasy how far I will get. Today you can see the first card in my new series.

Playful Backgrounds


Happy Birthday Gorgeous


Ik heb de stempelsets Playful Backgrounds en Happy Birthday Gorgeous gebruikt, met de bijpassende Happy Birthday thinlits en de Balloon Bouquet pons.
I have used the stamp sets Playful Backgrounds and Happy Birthday Gorgeous, with the matching Happy Birthday thinlits and the Balloon Bouquet punch.


Mijn inspiratie heb ik gehaald uit de Jaarcatologus, het geschenkdoosje op blz. 72.
Ik hoor graag wat je van mijn kaart vindt, ik stel je mening echt op prijs.
I got my inspiration from the Annual Catalogue, the gift box on 72.
Please let me know what you think of my card, I would really appreciate hearing from you.