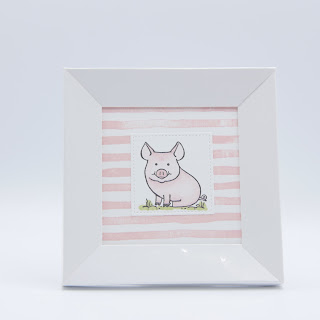
This tutorial shows you how I have made these
beautiful frames. I started out by using the Glossy White paper. The gloss
fools anyone into thinking it is a real frame and the frames look just
beautiful.
I give credit to Jodi of HappyHouseCreates who shared
her idea to make these frames in almost any size (normally with a shadow box
type frame the paper size limits your options rather). I just couldn't get the
corners to fit neatly, brooded on this for a day or two and made an improvement
on her idea.
 |
| You can see the corner gapes |
And here you can see the improved version
 |
| Neat Corners |
Here are some directions on sizes:
First you decide how large your background will be. In
this case the image is on a die cut made with the second largest square
Stitched Shape Framelit. This measures 2⅛' x 2⅛".
I wanted roughly 1½" background around it, which comes down to a 3½"
x 3½" square for my back ground.
The frame itself, when stuck together is 1" wide,
so to calculate what paper size to cut, you add 2" to your measurements
(one inch for each side). And here comes my improvement: you add another ½" which will make the extra little flap.
You can make frames like this in many more sizes.
In the video you can see a tutorial, I hope you enjoy
it.
Because I had run out of Glossy White, I decided to
make some frames in our regular Card Stock I couldn't get enough of making them
and I had already made the back grounds and the hand-coloured images from Bella
& Friends and Pretty Kitty. And you know what? These are really beautiful
too.


Geen opmerkingen:
Een reactie posten